
How To Use Custom Presets in the Lightroom CC Mobile App
In case you haven’t noticed, custom Lightroom presets have been all the rage on Instagram for a while now!
Everyone is coming out with their own presets and if you’re not new here, you’d know that I’m one of those people haha. If you are an Instagram addict like me, you probably have a few custom presets of your own, or presets you have bought from your favorite influencers. But aren’t you sick and tired of doing the copy+paste method?! I feel you boo! Haha.
So today, I’m going to share with you how you can use your custom Lightroom presets in the LR CC app the way you would edit on the oh-so-famous VSCO. Say goodbye to copy pasting my friend. The answer is here, and nope, you don’t have to subscribe to the premium version of the app!😉

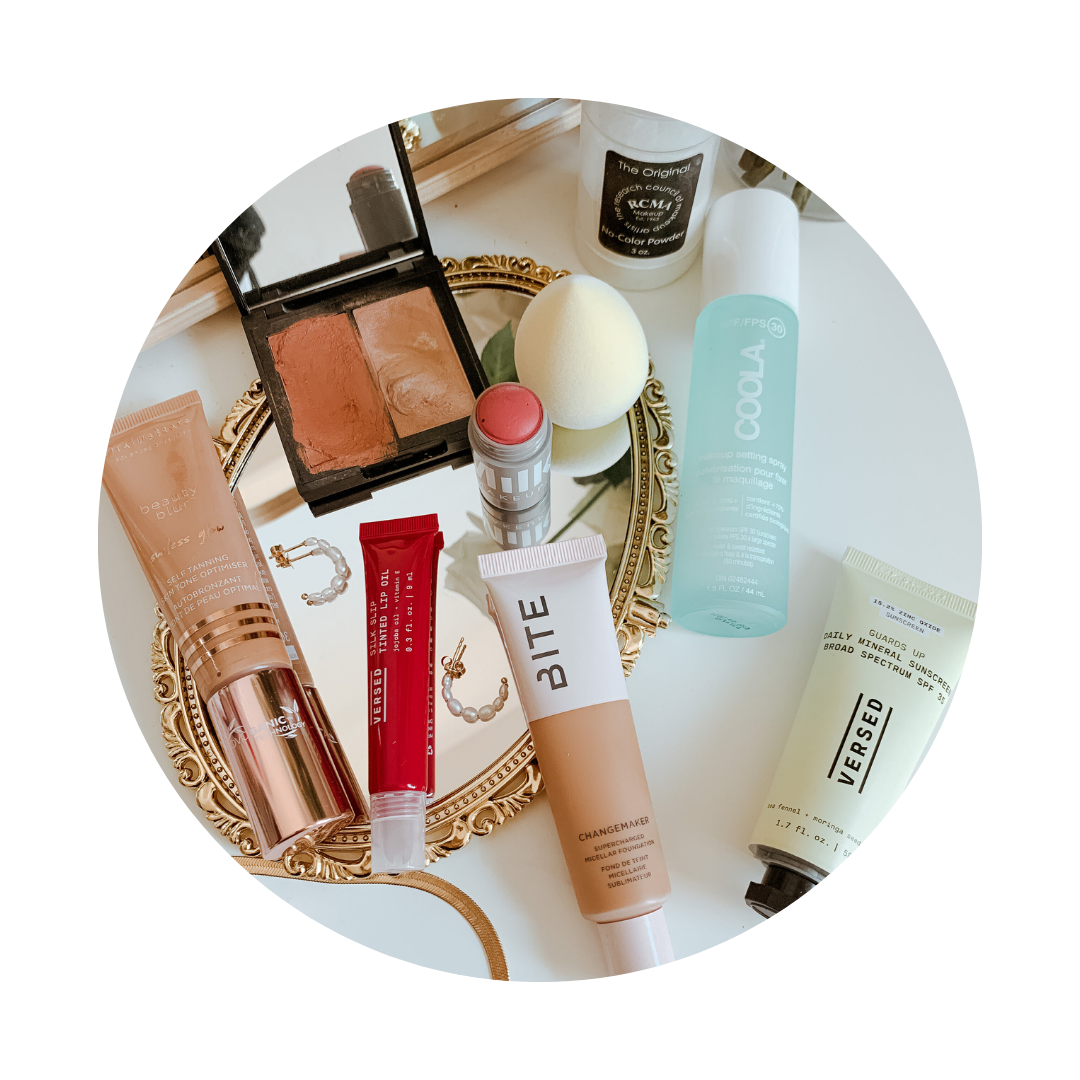
If you have custom presets already saved in your Lightroom CC App, please put them in one folder to save you time in organizing them later as you follow my tutorial. If you have no idea what the heck I’m talking about, Lightroom CC is an app where you can enhance your photos. Recently, people have discovered how to use custom presets (aka, custom color grading) in the app which is amazing because this can save you a significant amount of time in editing if you’re not particularly called for the editing life. Because I am the way I am, and I like to explore an app to its core, I was able to discover how you can pick and choose your preset in the Lightroom App the way you would pick and choose on the VSCO app. It’s honestly not that hard. So if you’re ready to learn, keep reading! :)
How To INSTALL Presets into the LIGHTROOM MOBILE App
When you open the app, this is the screen you’ll see. This is the dashboard if you will, and on mine, you will see that I have two albums for my presets. Like I said earlier, if you haven’t organized your presets in an album yet, do it now before you move on with this tutorial.


2. Tap on an album and you should see all the presets you have on there. Tap on the preset you want to add, and then click on the three dots at the upper right hand of the screen. Tap on “Create Preset”.


3. This is the kind of complicated part of the whole process, but I promise you, once you’re done, it’s so worth it! After hitting “Create Preset” this is what you should see. Just pretty much fill in the blank, and choose the right settings.
Make sure you put the correct name of the preset. Under Preset Group, you have the option to put all the custom presets under “User Presets”, but I went extra and added a custom name so I can easily find the presets I want to use when I am editing. Notice that I have two groups: Corinths Preset and Lifestyle Collection. You cannot edit these names after so make sure you create a name that is able to help you distinguish what presets are in each group.


4. After you’re done with the naming part, you can go ahead and pick out what you want this preset to do. I always always deselect “Exposure and Contrast” whenever I add presets because each photo are exposed differently and I don’t want my preset to overexpose a well exposed photo, and/or vice versa.
To do so, tap on “Light” and then deselect Exposure and Contrast. Then go back to the general setting area and hit the check mark at the upper righthand corner of the screen to save the changes.
Note that I also leave the Optics and Geometry unchecked because adding these changes may distort your photos. Always leave these two options deselected as well.


5. And voila! You have created a preset now built-in your Lightroom CC app! Just repeat those steps with all your other presets and you will never have to copy+paste again. All you have to do is go tap on “Presets” when you’re editing, and choose the preset you want to apply to a photo! So simple!


MY TIPS AND TRICKS IN USING THE LIGHTROOM CC APP
I’m not an expert when it comes to editing photos, but I do enjoy it and I’ve learned a few ways on how I can manipulate a photo to where I’m happy with the end result. Below is one example of a before and after shot. It’s really crazy how editing can take a photo from 0 to a hundred super quick!

before

after
One of my tips is of course, *cough* use my presets *cough*! Using a preset really helps enhance a photo’s colors, and overall look and vibe. But sometimes, a preset isn’t enough and I’ll have to do more editing after! Because I want to get the most out of the app, I subscribed to the premium version for $9 something a month. I know, it can be a little pricey for an app, but to me, it’s so worth it! I rarely edit on my laptop anymore because I’m able to edit on my phone on the go! Below are some features of the premium version:


With the premium version, I’m able to edit RAW photos in the app! But my three most favorite features are definitely Geometry, Selective Adjustments, and Healing.
With Geometry, I can make myself appear a little taller in my photos. With Selective Adjustments, I can really be extra precise in editing certain areas of the photo I’m editing. If I want to brighten Adeline’s face without brightening up the whole photo, it is possible using the selective adjustment feature. Healing has got to be my most favorite because I can delete, heal, and clone whatever I want in the photo! Look at the photos below and see how I deleted the woman in the background:

before

after


I don’t know how long I edited this photo but I do not regret spending every second of it! The end result was worth it! Bye red lady that distracts in the bg!
Another way I edit on the app is by playing with the colors! After I apply a preset, and I notice that the reds are too red, or the skin tones are too pink or orange, I go on the Color tab and fix the issues by either changing the hue of the problematic color, and/or by bringing down the saturation of that color.
This goes for whatever element you want to manipulate in the photo! You can literally edit whatever you want! This is one of the reasons why I choose to edit on LR instead of VSCO.

And that is all folks! I hope you learned a thing or two from this tutorial!
If you did, please pin, share, whatever you have to do, to get this post out there! It would really mean a lot to me! I truly enjoy the process of editing and it’s never the same for each photo! Be sure to explore and play with the app on your own and start developing your own look! If you want to learn how to create your own preset within the app, let me know and I can totally do that post for yah!
Disclaimer: This post is NOT sponsored whatsoever! The preset used in the photos above is Brooklyn.


![How To Use The Adobe Lightroom Mobile App [VIDEO]](https://images.squarespace-cdn.com/content/v1/5404cb22e4b0c1de726585f0/1566585456811-2WV9DMYFAJAZTZXZQLCC/4.jpg)


