


How I take my self-timer portraits
How I take my self-timer portraits : iPhone
If you're following me on Instagram, you probably already know that I created the hashtag #CorinthTheExplorer for my self-portraits. They're the photos I took of myself, by myself, because nobody else was there to take photos of me. I know, sad right, but there's good news! It has helped me enhance my ~*photography*~ skills when it comes to using the self-timer. Using the self-timer is harder than I thought it would be but like any other skill, with practice, I've come to enjoy and love taking self-portraits using the self-timer.
I've posted quite a number of self-portraits on my #CorinthTheExplorer tag on Instagram and it made followers curious. How do I capture these self-portraits? Well, I've got happy news for you my friend (if you are one of those few curious people), in this blog post, I will teach you guys how I do it, the tools I use and the apps I use. This tutorial is only for mobile photography. I don't really take "selfies" using my DSLR.
all photos are taken by Jorge Suarez unless stated otherwise

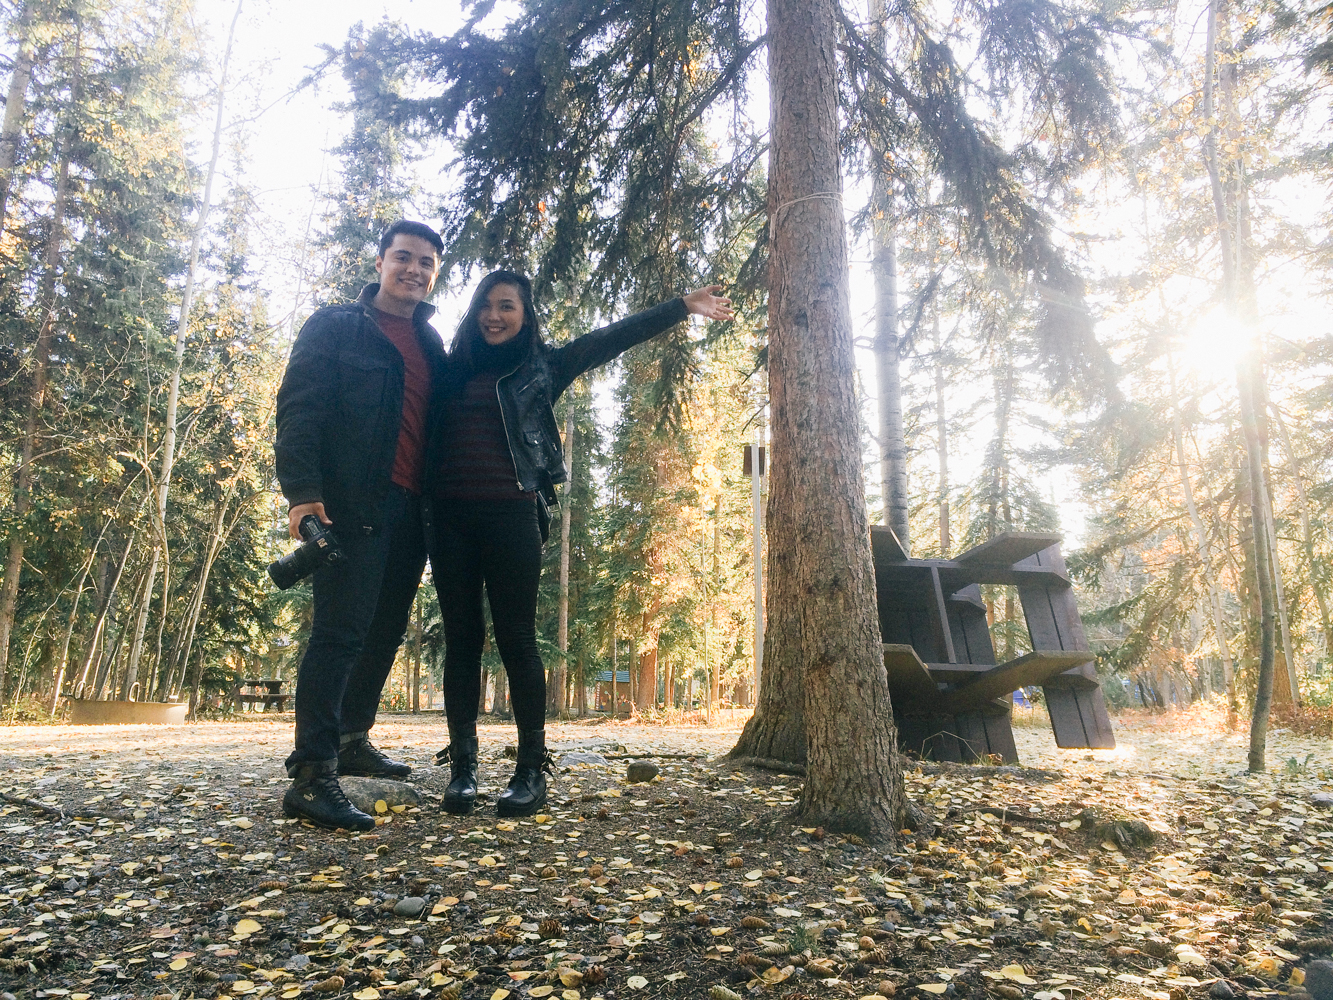
taken by me


Tools:
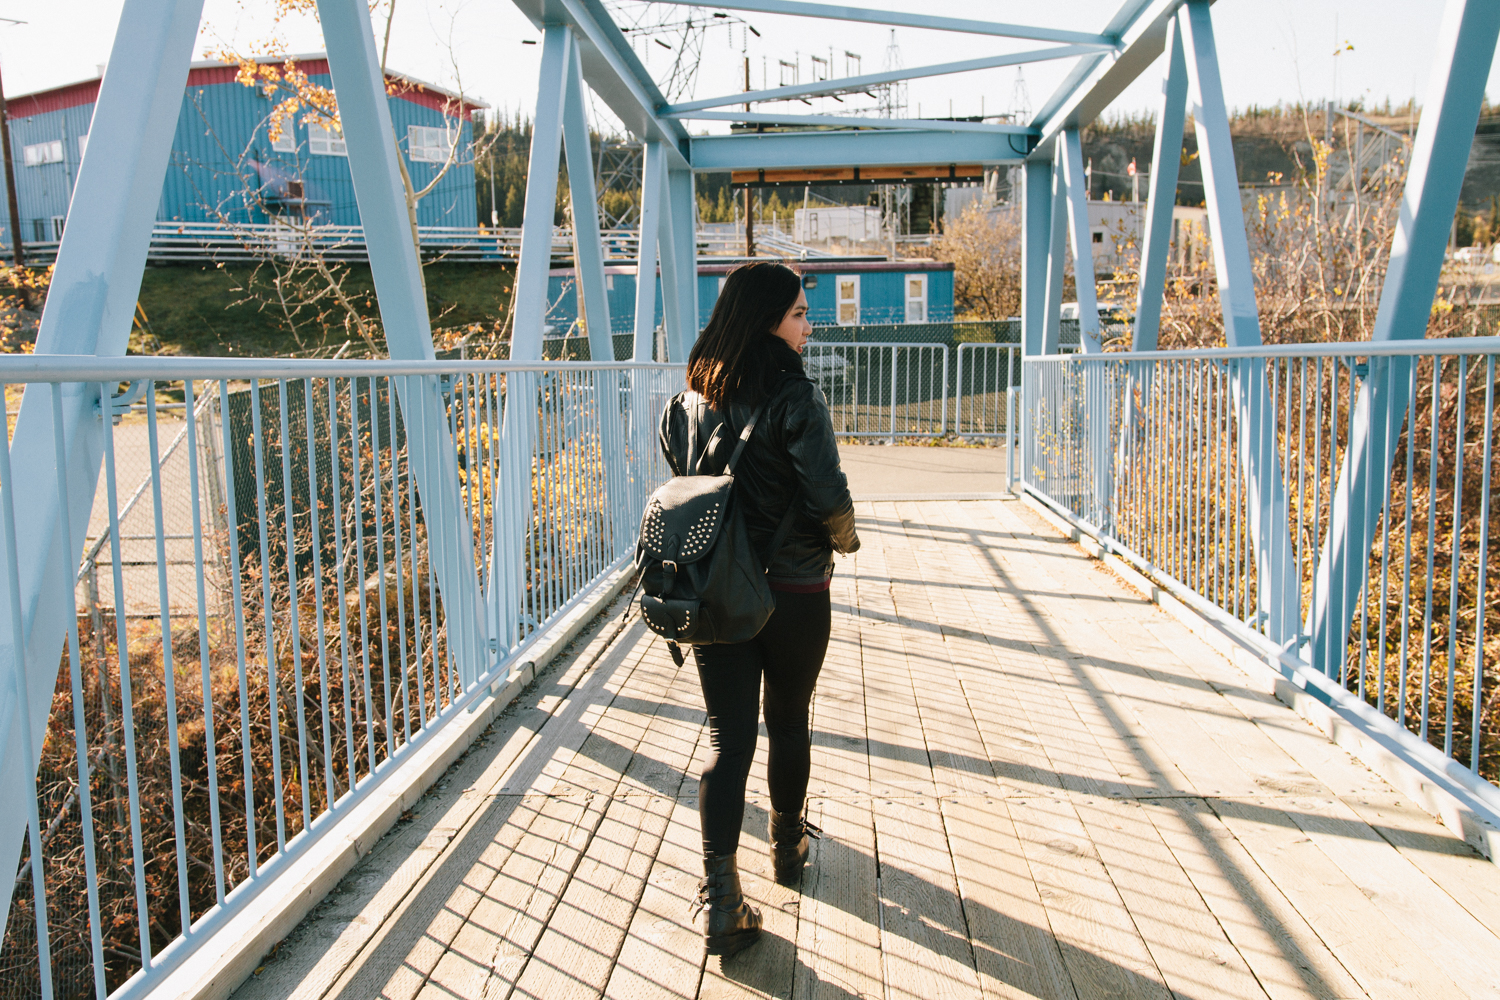
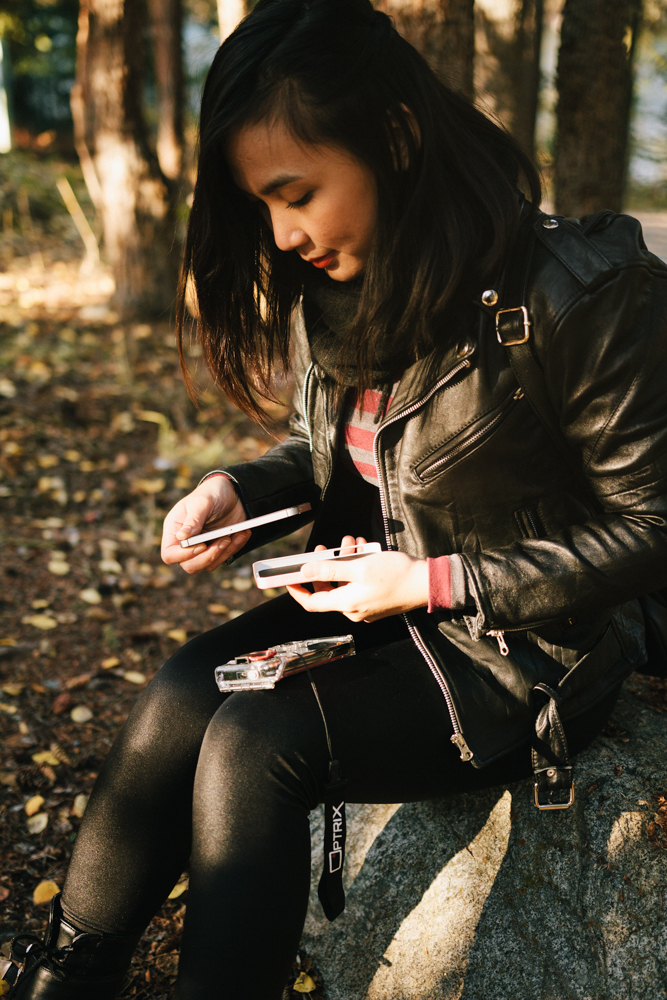
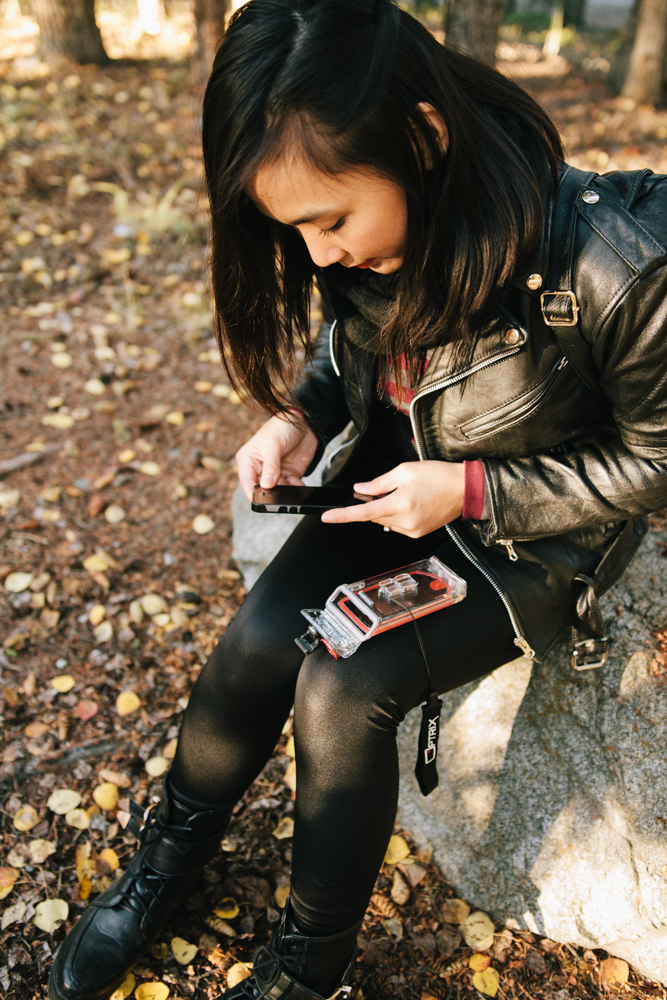
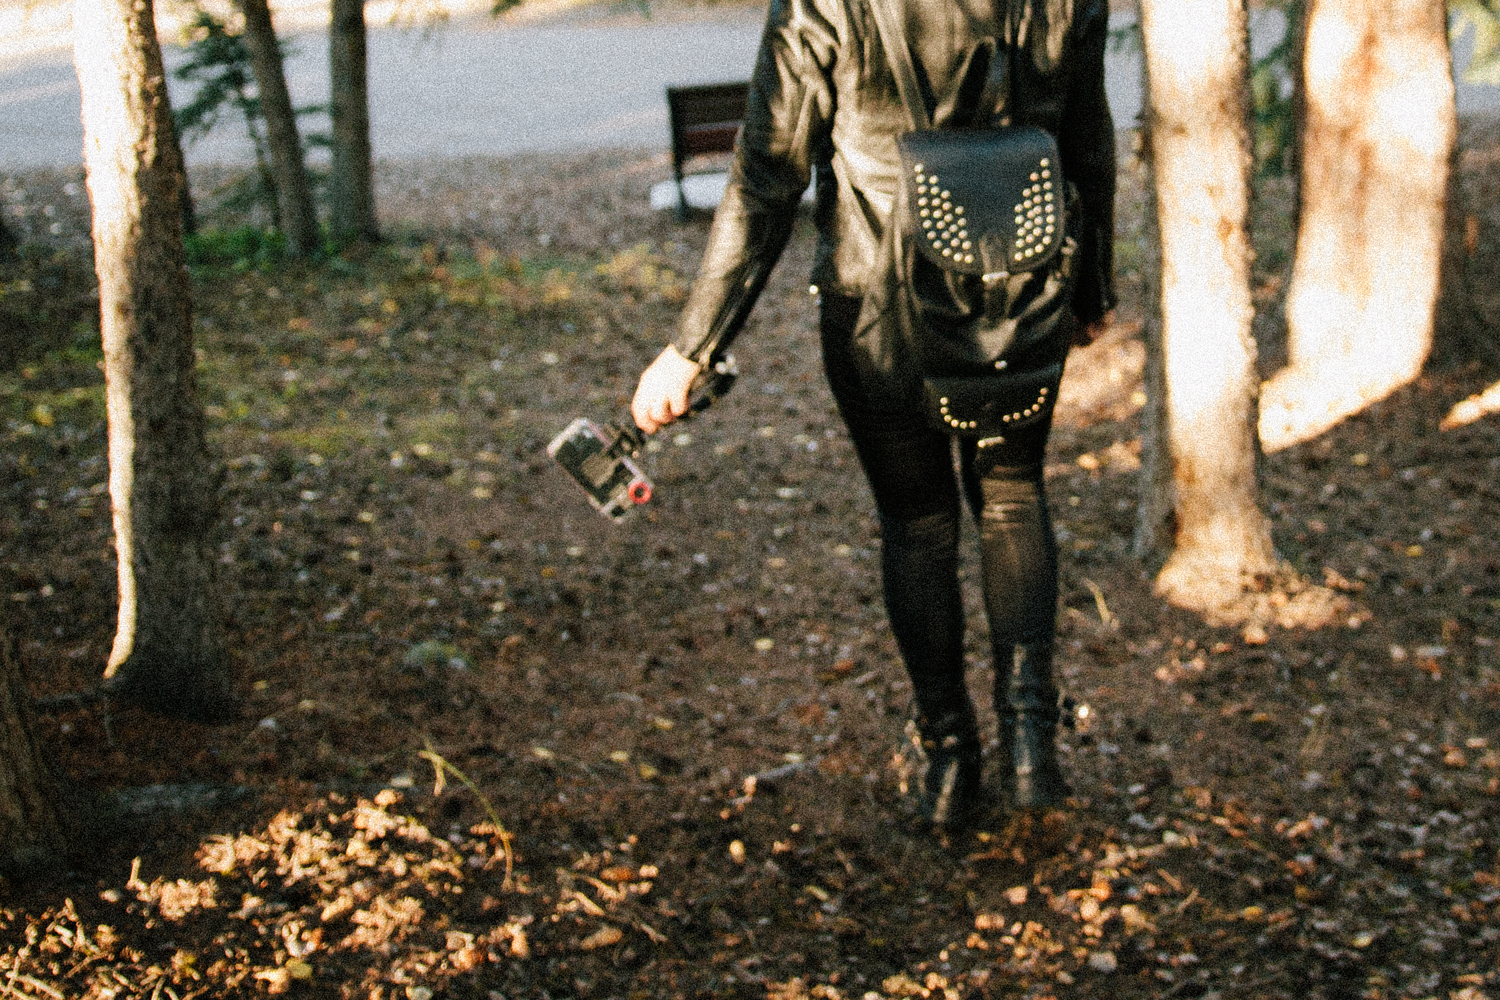
Every time I go out to "explore" new places around my city, I make sure I bring my backpack and pack my exploration / self-portrait essentials! This includes my DSLR, some lenses, my Fujifilm Instax, my iPhone of course and last but not the least, my Optrix iPhone case and tripod set.

taken by me

taken by me
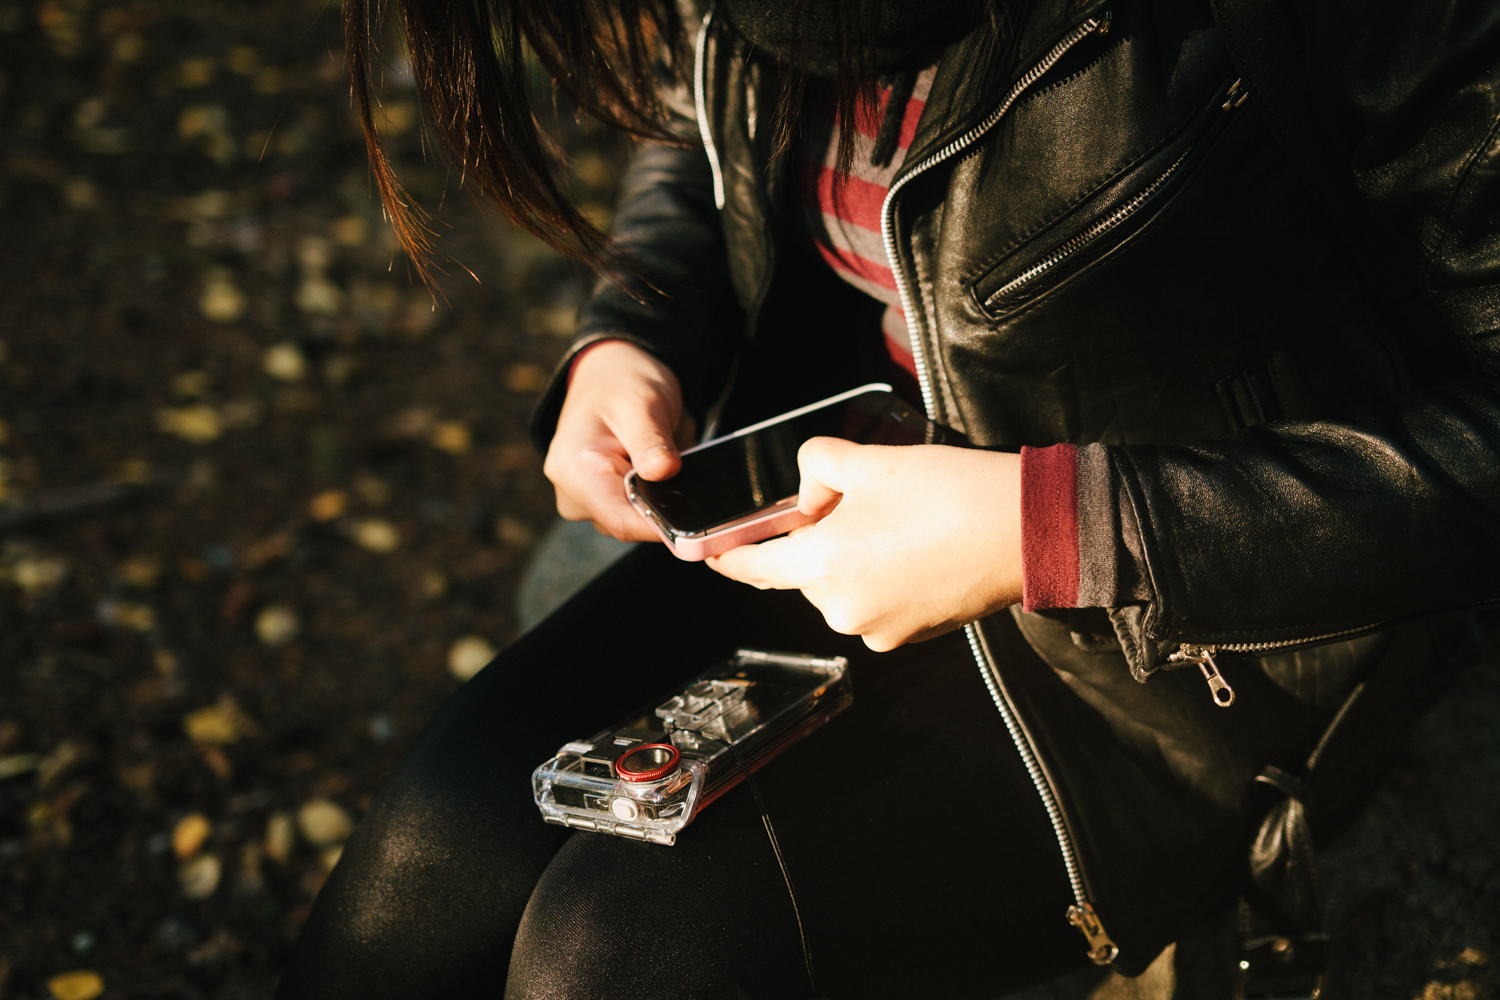
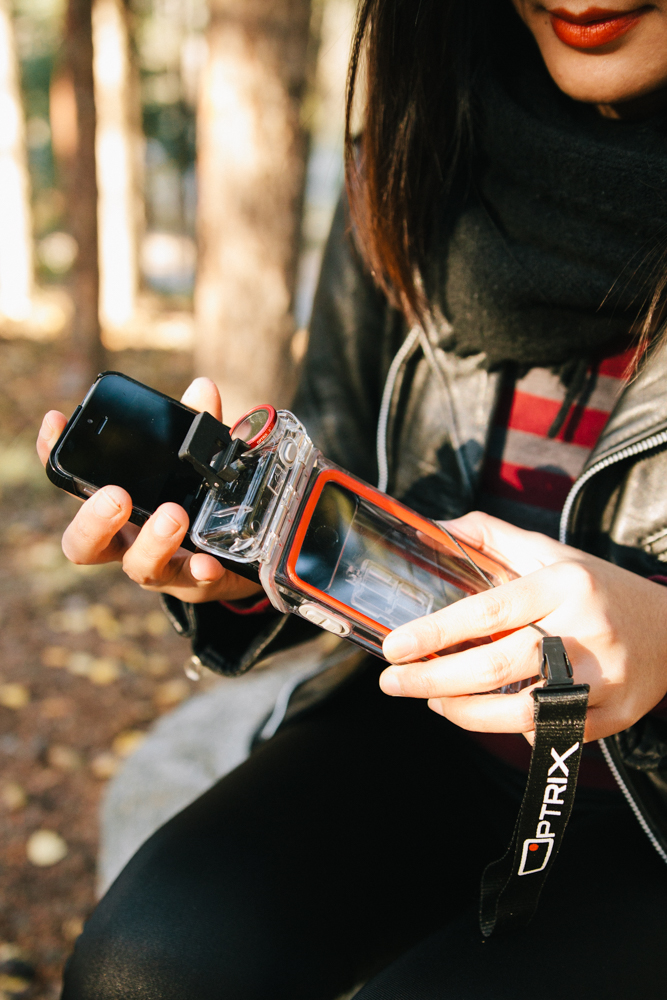
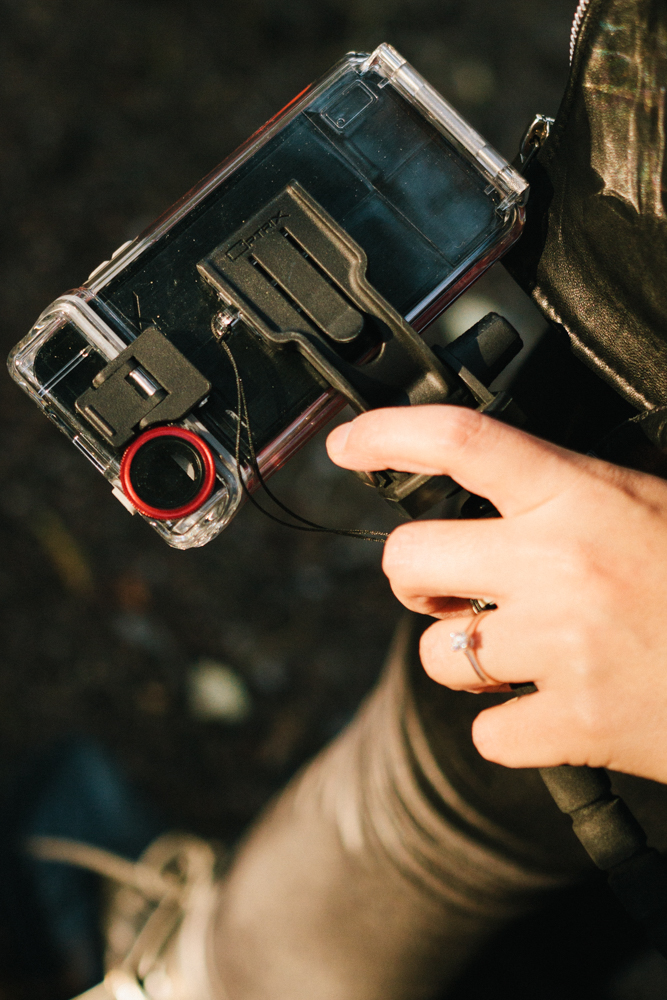
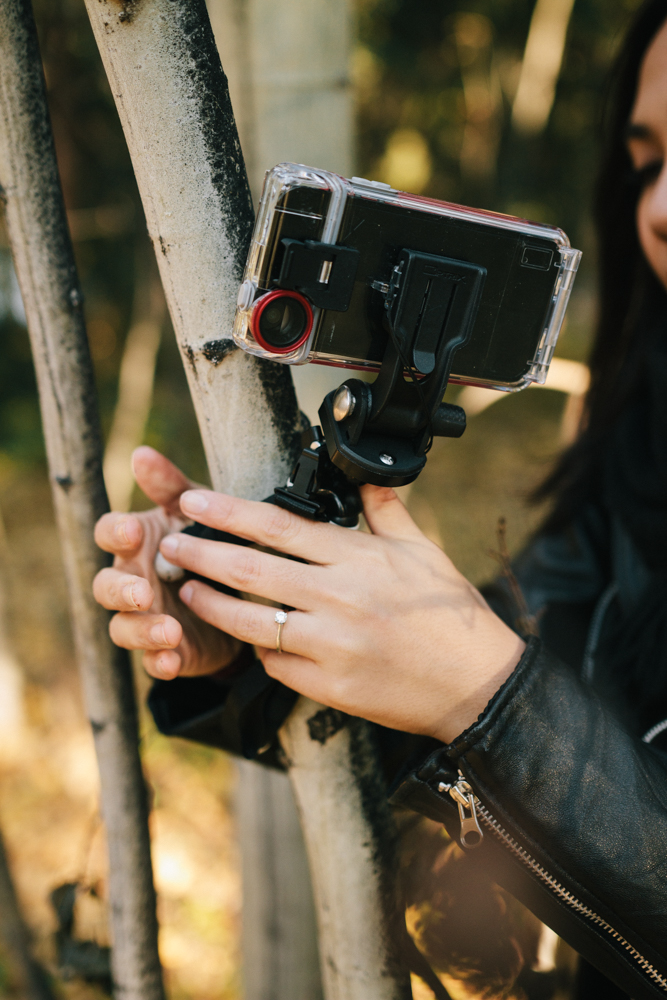
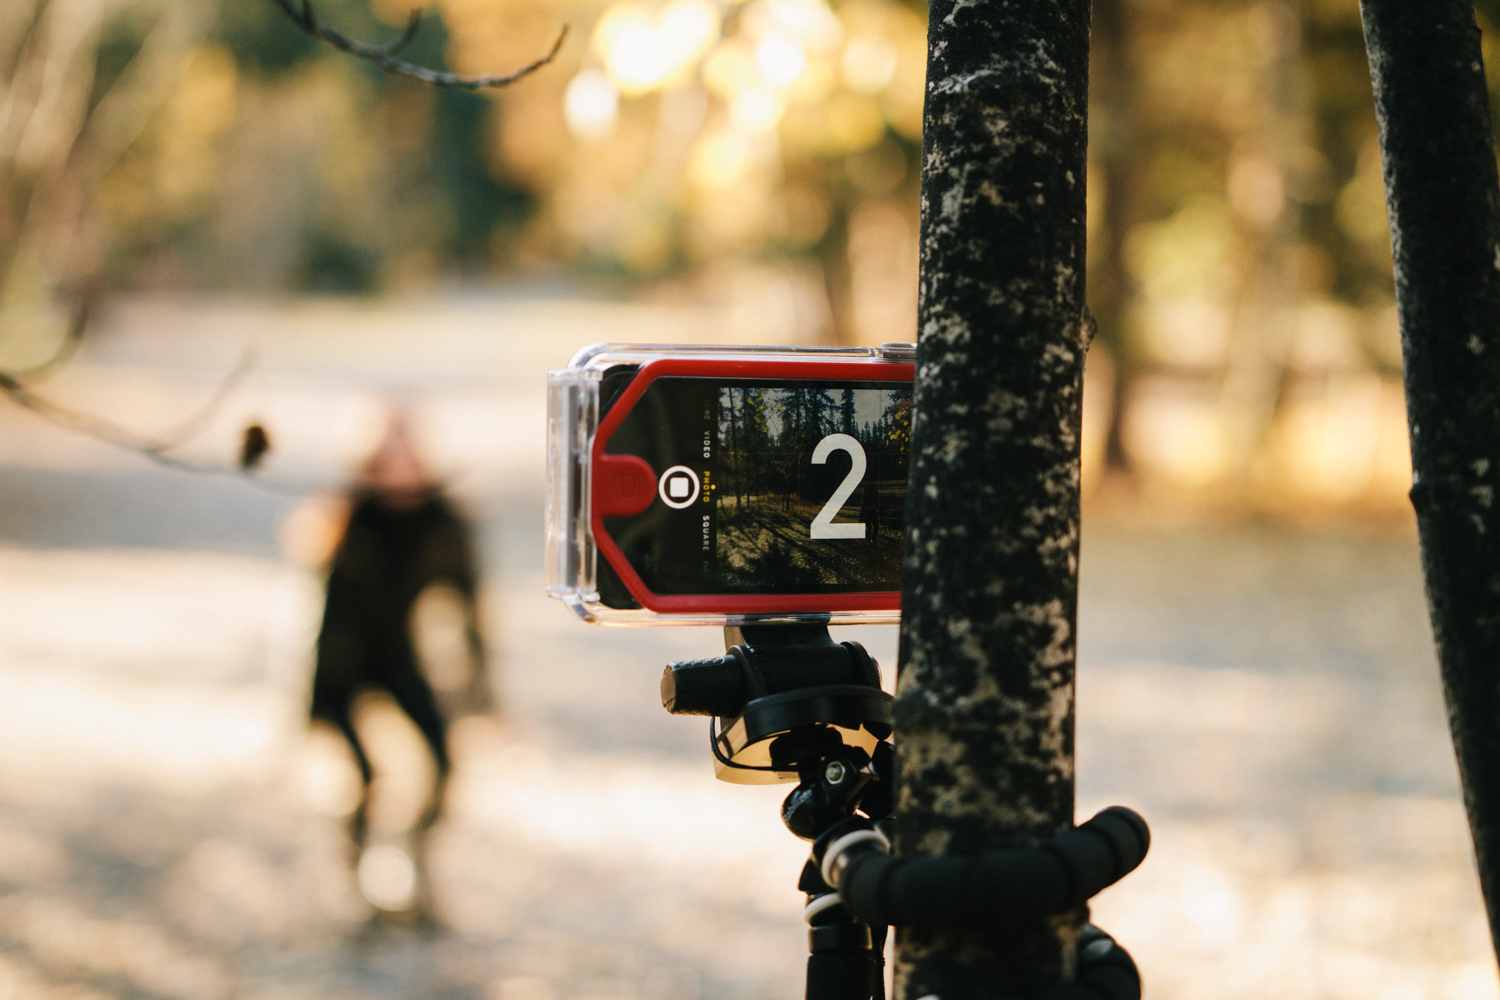
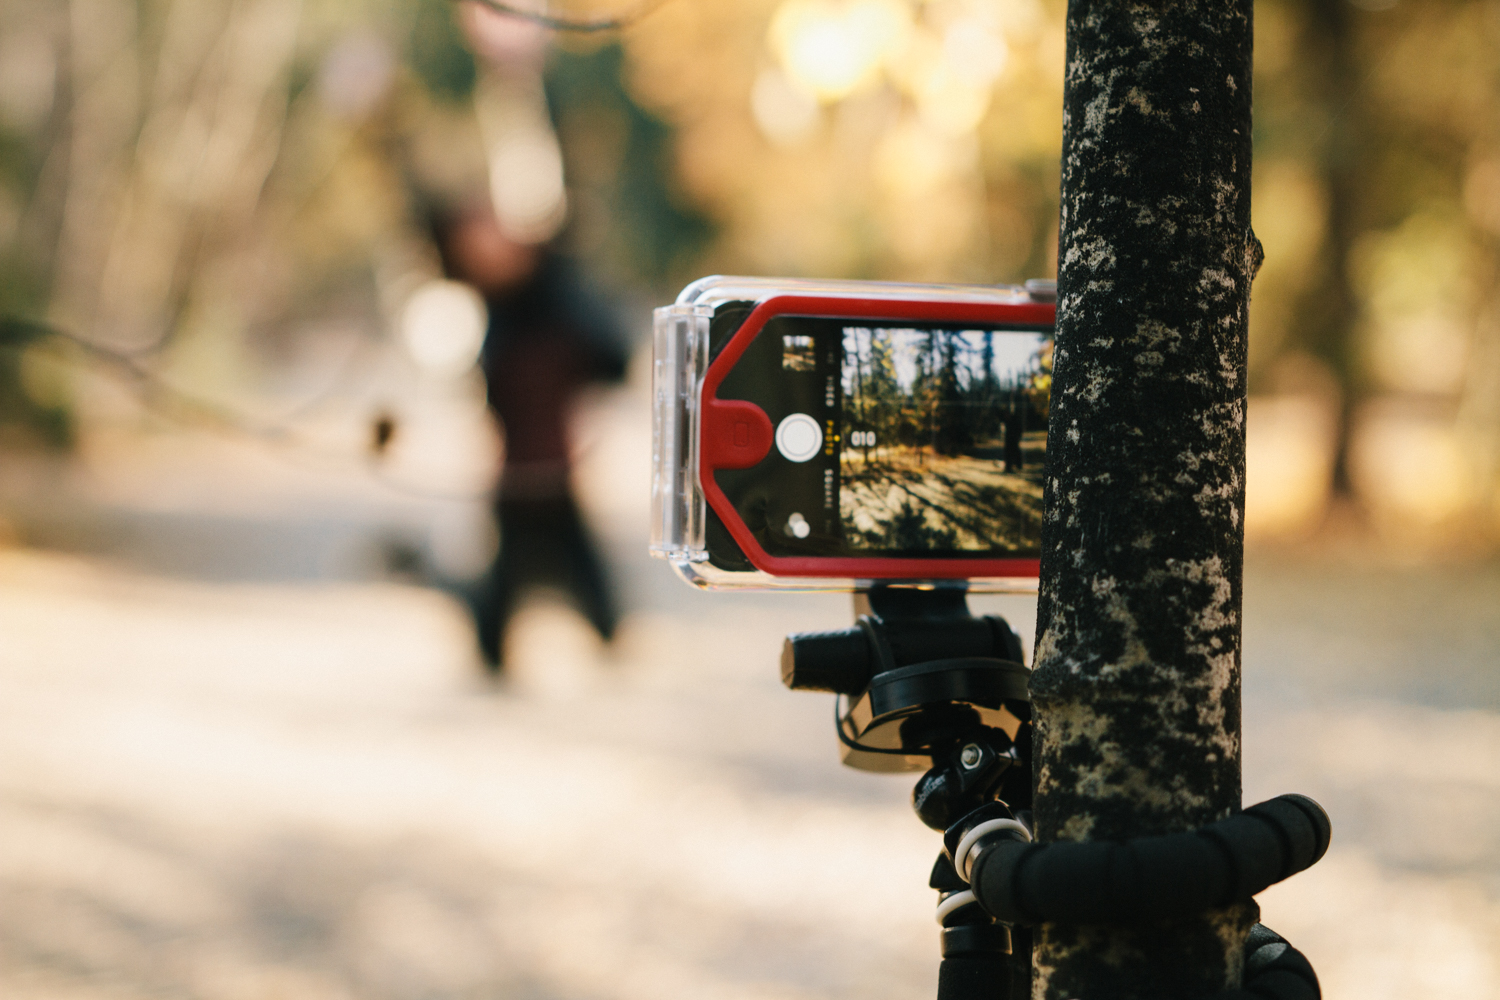
This phone case is waterproof, shock-proof and it includes interchangeable lenses that are perfect for your every need since they have a macro lens, a wide lens and a fisheye lens. I'm not a fan of these products though, because the lenses don't really produce crisp and sharp photos. I find that the Olloclip lenses are better quality but for now, my Optrix works. I bought a separate tripod that attaches perfectly to my case so I can mount and hang my phone anywhere. Again, I'm not impressed by the quality of this tripod because after a few uses, I find that the legs and neck became loose. These tools aren't flawless but they do the job with patience and care from the photographer.
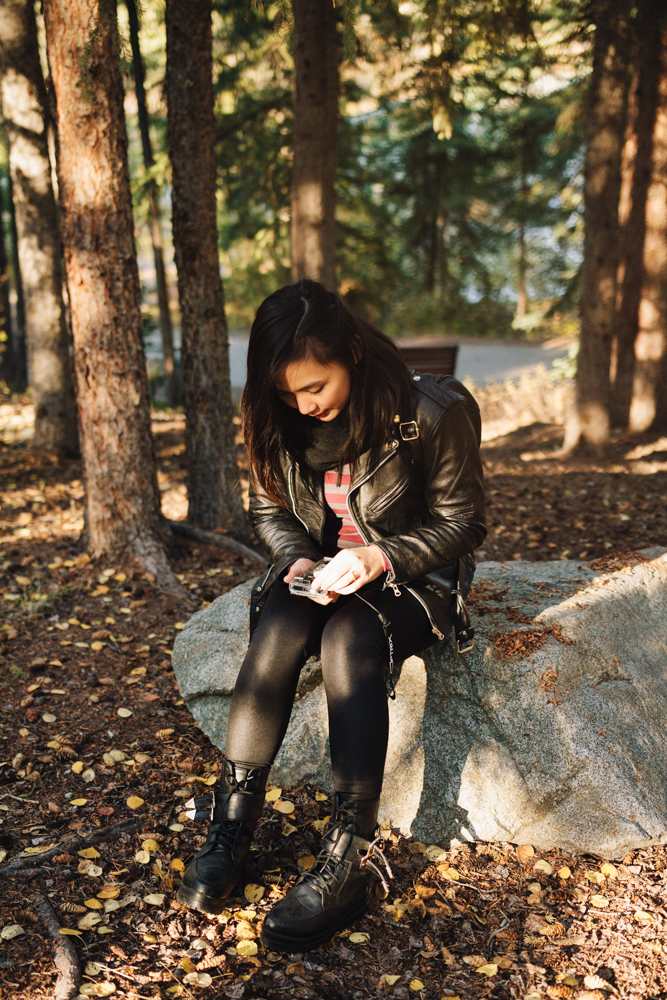
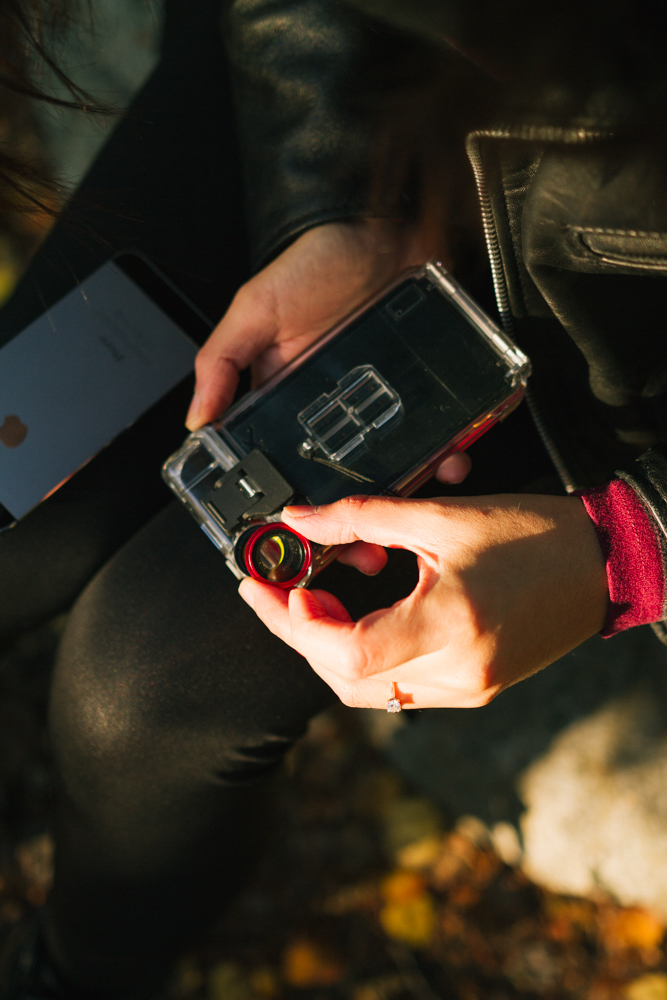
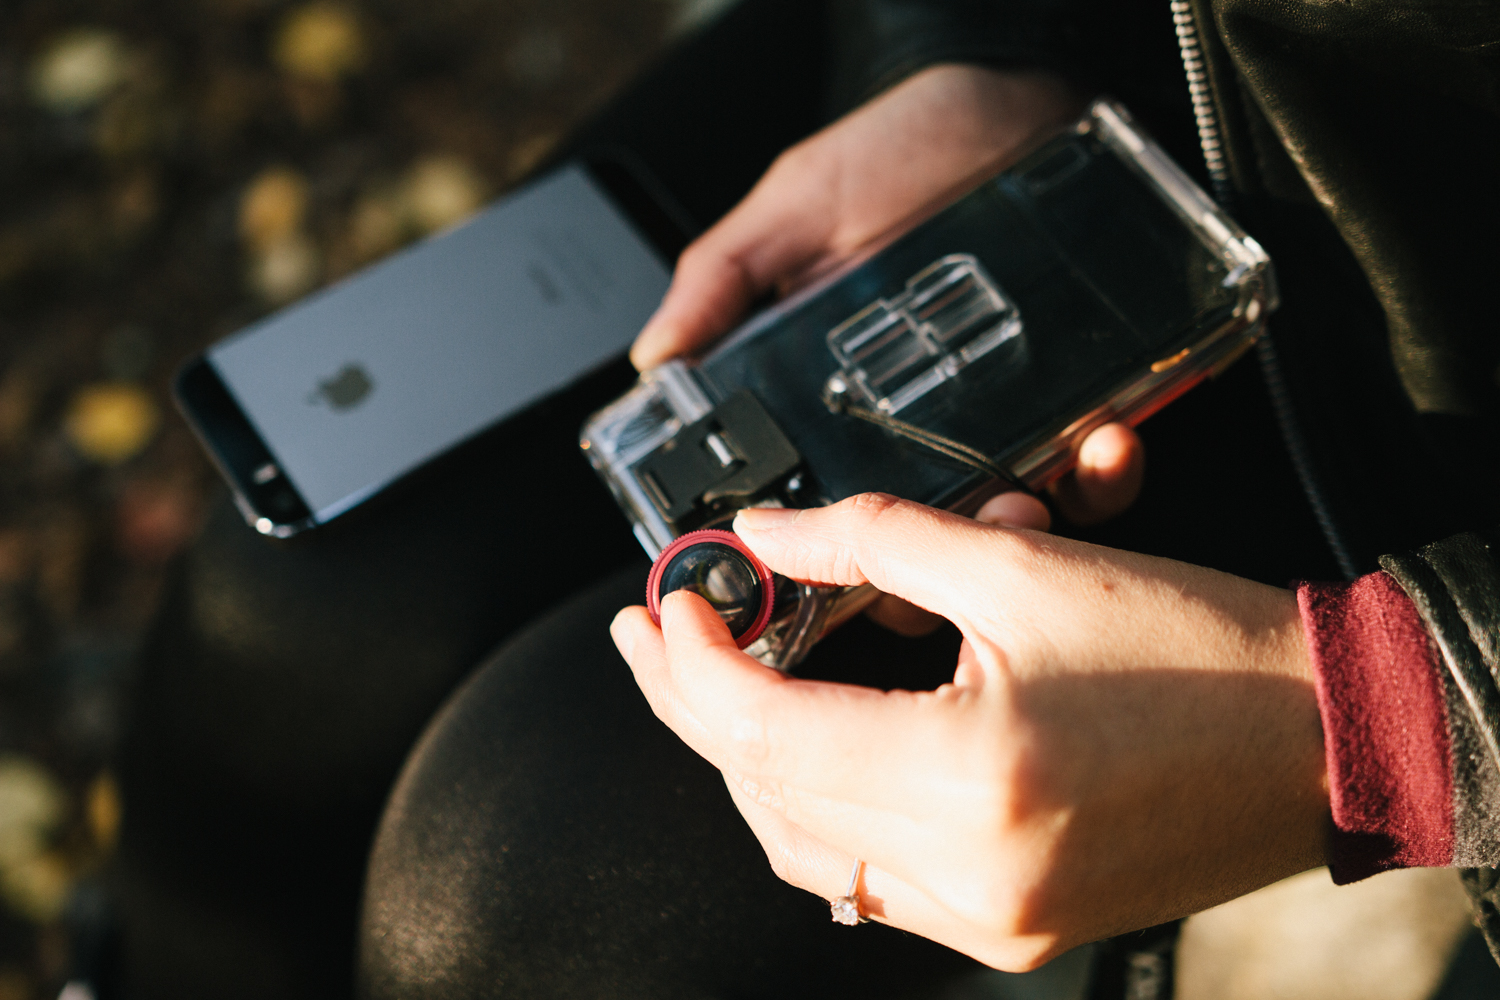
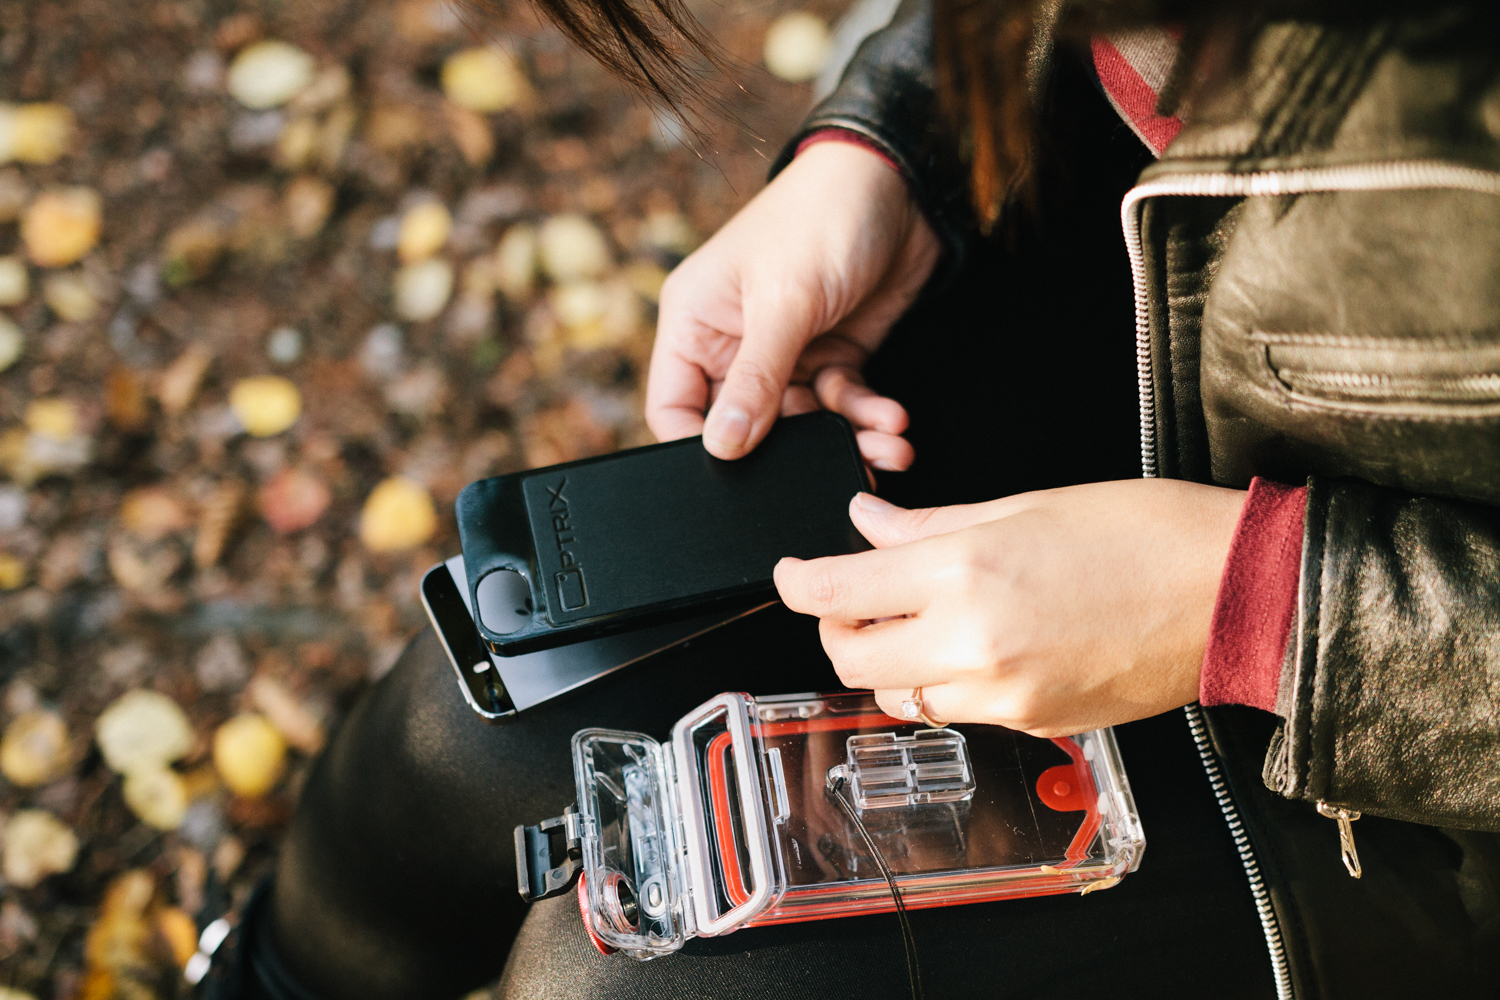
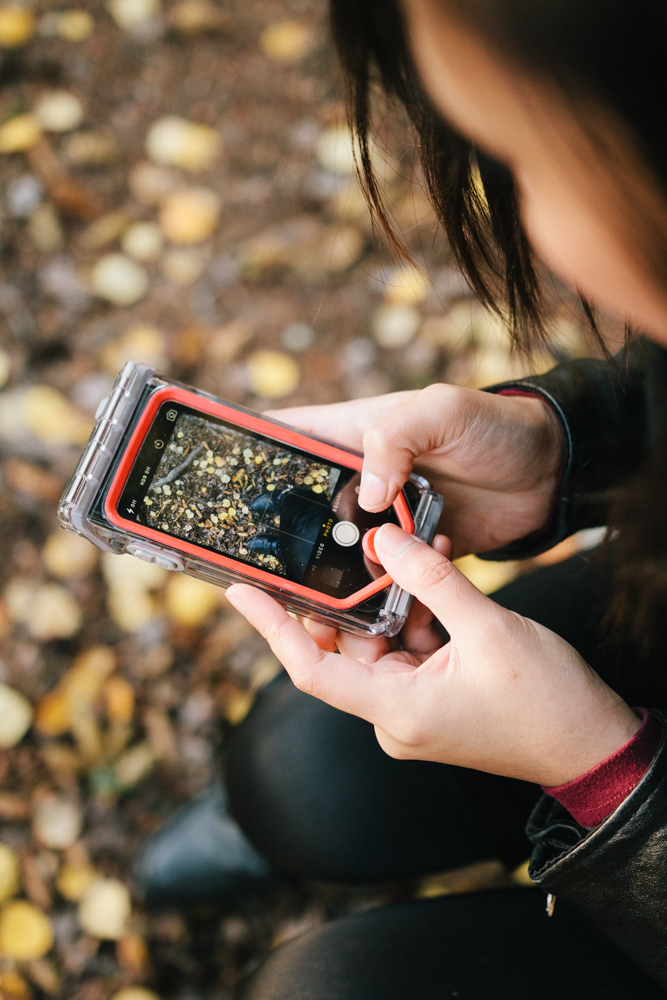
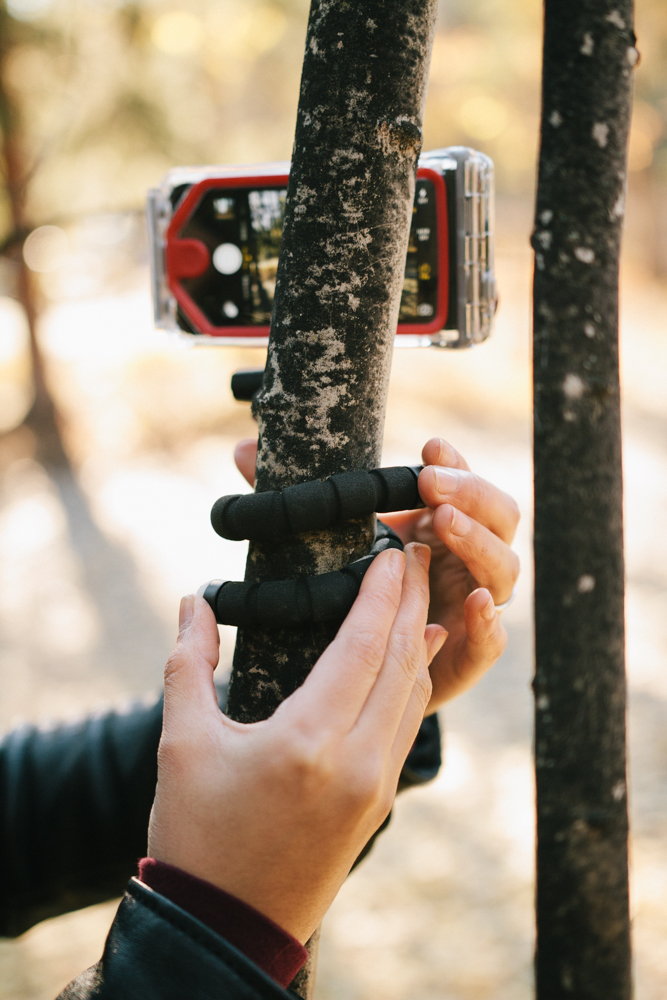
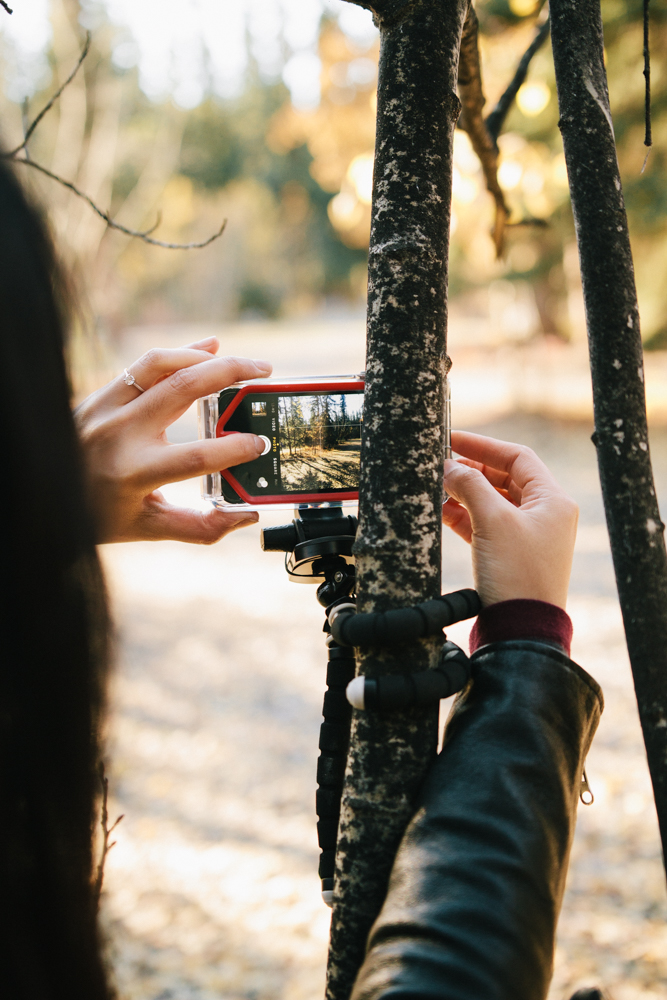
Look through the photos to see how to use the Optrix case:
Apps I use: for iPhone
- iPhone's new iOS 8 self-timer feature
- Camera + (I like this app better for self-timer portraits)
How I take my portraits:
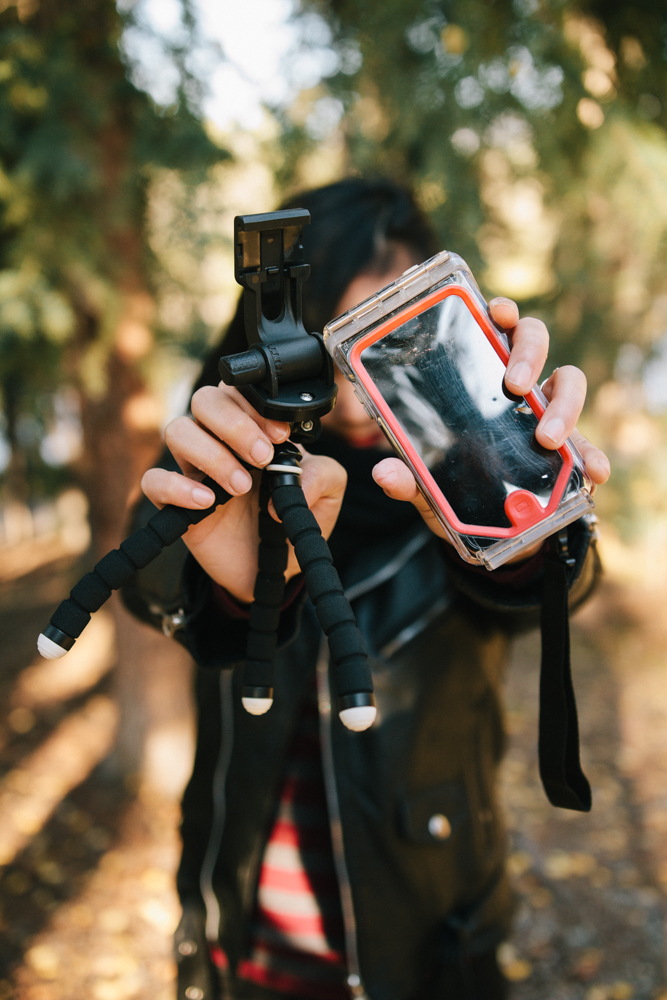
- I put the phone in the case and attach it to the tripod. I make sure I leave the house with my phone already inside the Optrix case because I'm really short-tempered that changing iPhone cases in the woods annoys me! It saves time and space in my backpack too so I make sure I have my phone ready for shooting ASAP.
- I look for a surface to place my phone on. This is usually the floor. I make sure the legs of my tripod are sturdy and balanced enough to keep the phone standing. When it's extremely windy, I sometimes support the legs with a jacket or something that's heavy.
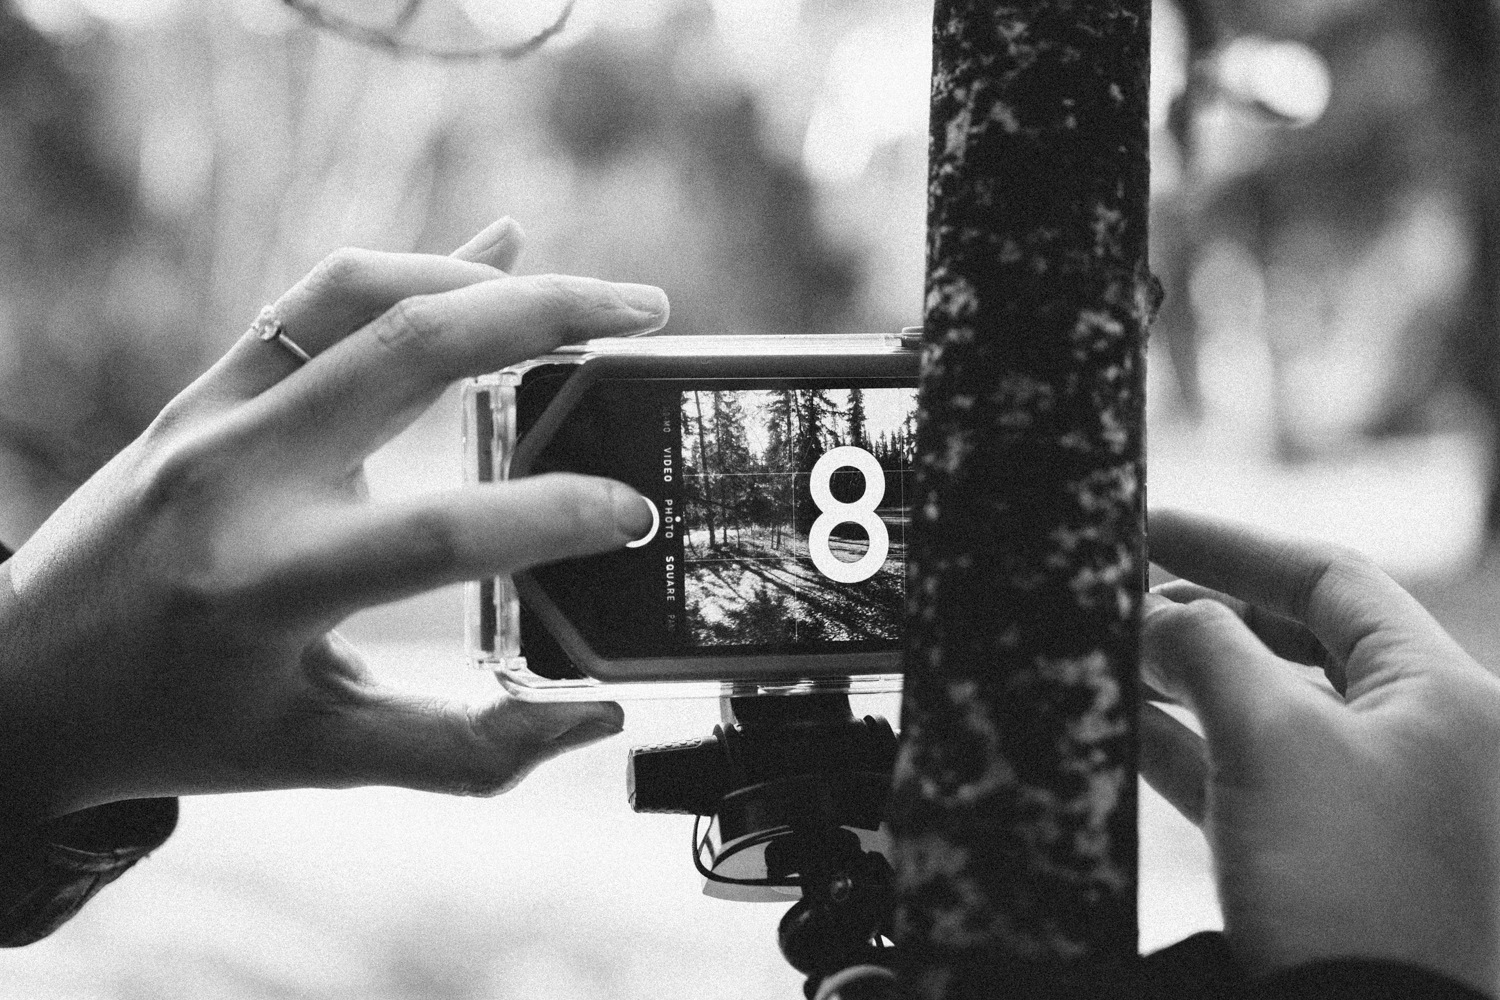
- I compose the picture. I'll level, adjust exposure, lock exposure if needed and I mentally mark my position in the photo and in the actual place.
4. I set my timer and press capture. 10-15 seconds gives me enough time to run or walk to my final position. For this post, I used the iPhone's self-timer feature on the Camera. I didn't really like it because it didn't have sound. It flashes the LED light but I prefer sound which the Camera + app has. I highly recommend using Camera + for self-timer portraits.
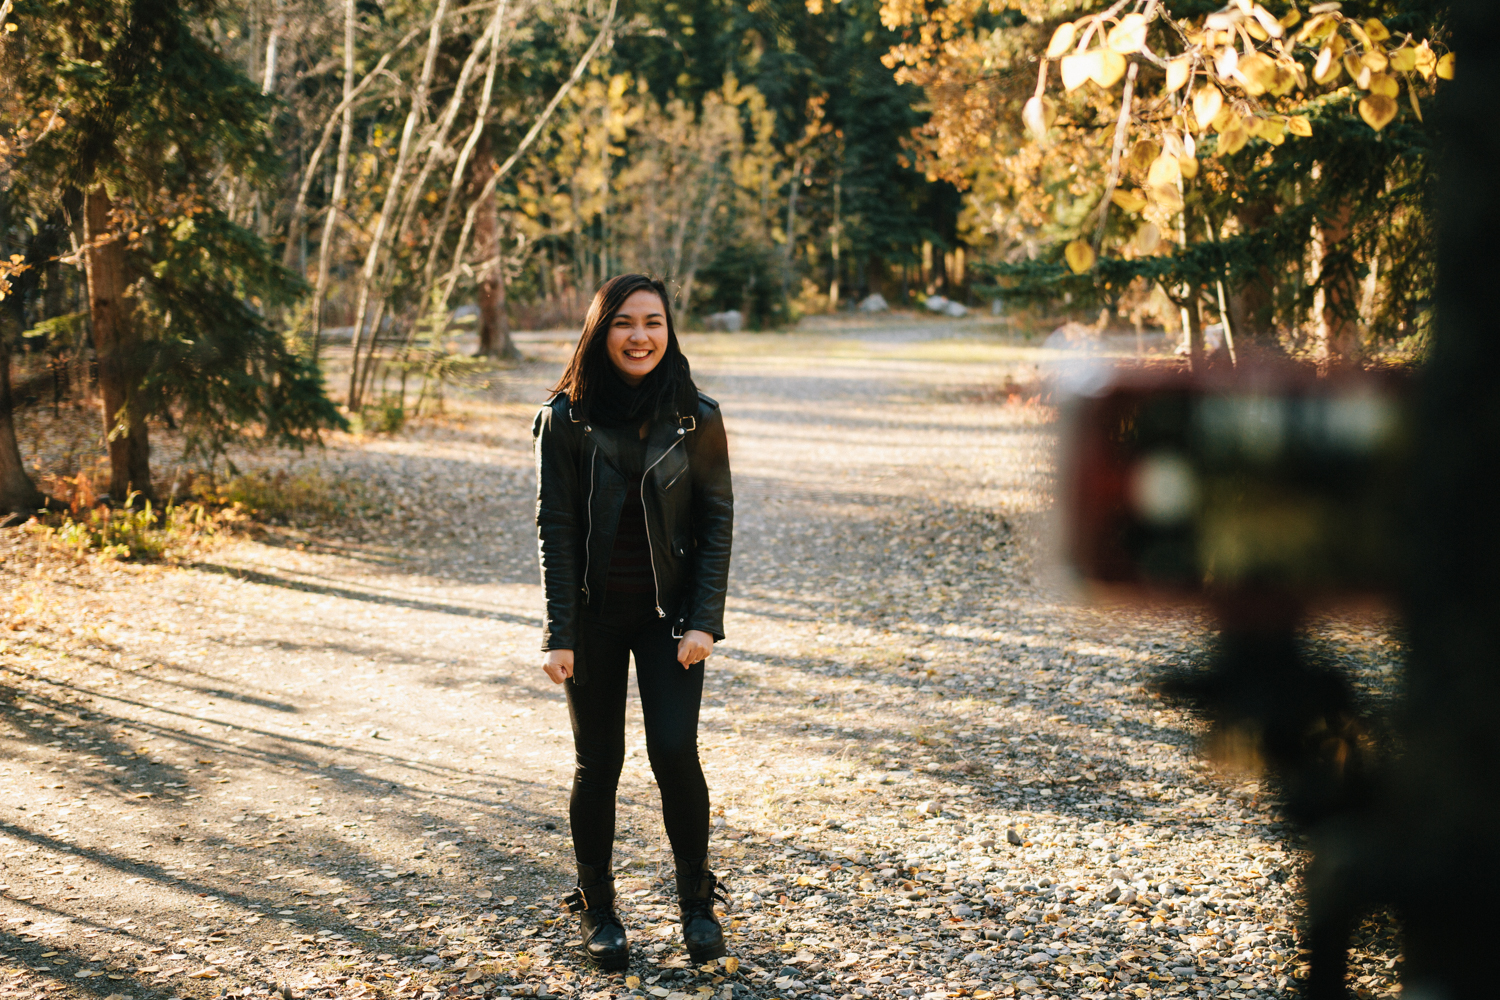
5. I walk to my position while counting. I find this method really effective in capturing self-timer portraits. After I press the capture button, I match the countdown from my phone and count loudly (or in my head) while I walk to my position and then I strike my pose. This is hard to do at first but don't worry, you'll get the hang of it. Getting that perfect photo will take a lot of time (and walking), but definitely worth it.
6. I check the photo and repeat steps 1 - 5 if needed. I rarely get the photo on the first try so sometimes, I have to keep taking the photo, wait and pose until I find the perfect shot. This is very tiring if you are trying to capture jump shots.
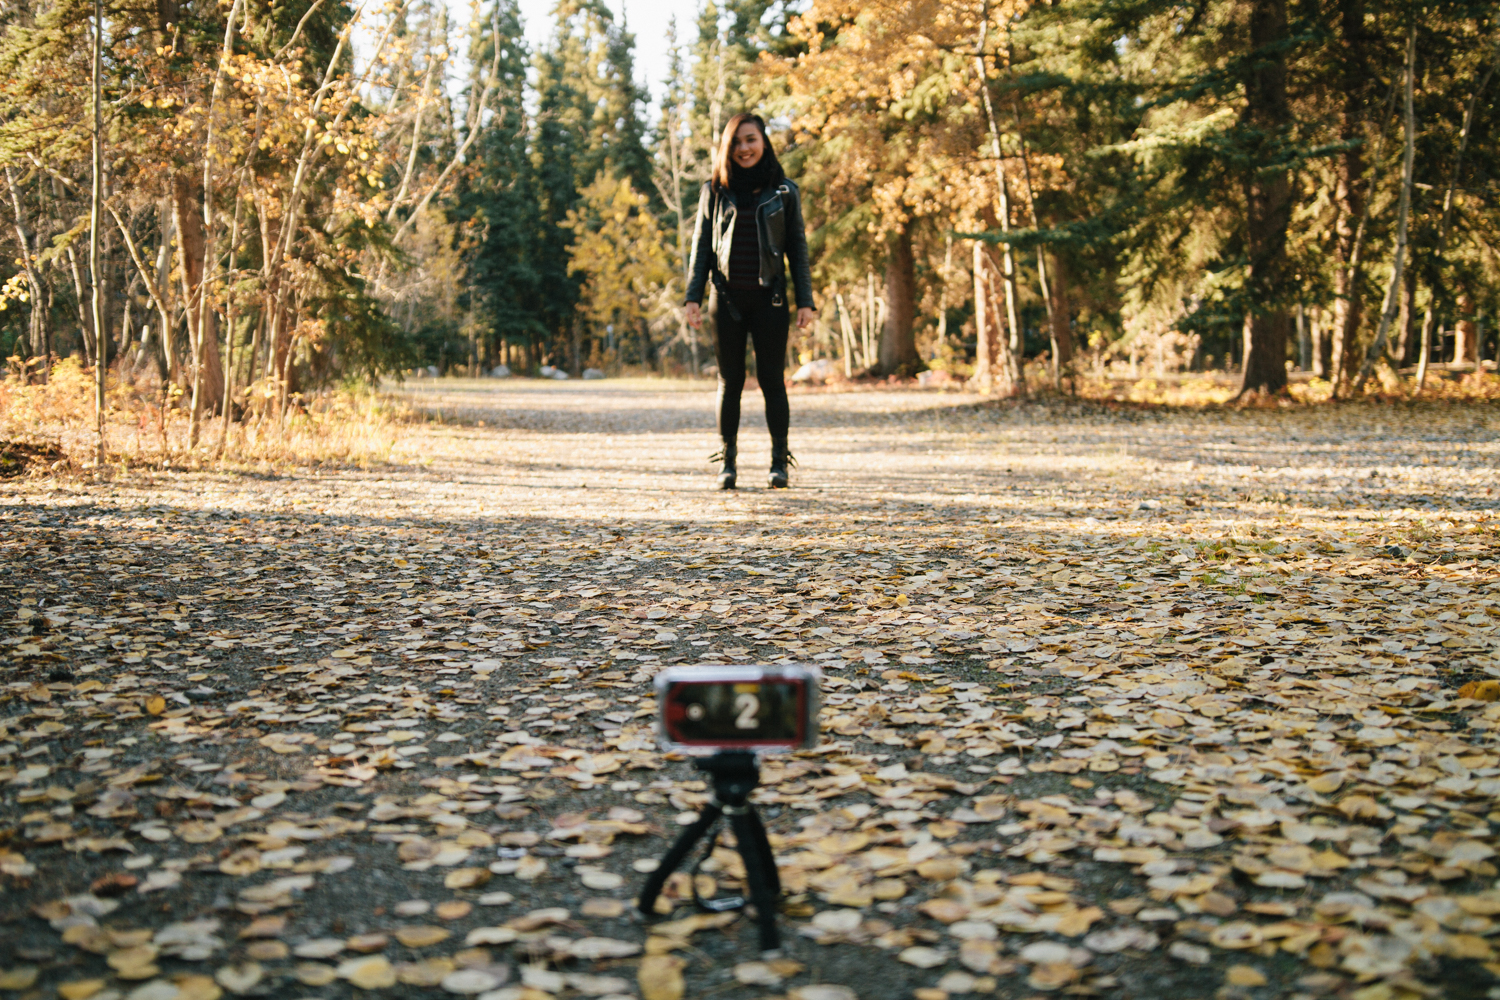

actual self-timer capture // sorry about the quality of the photo -_-
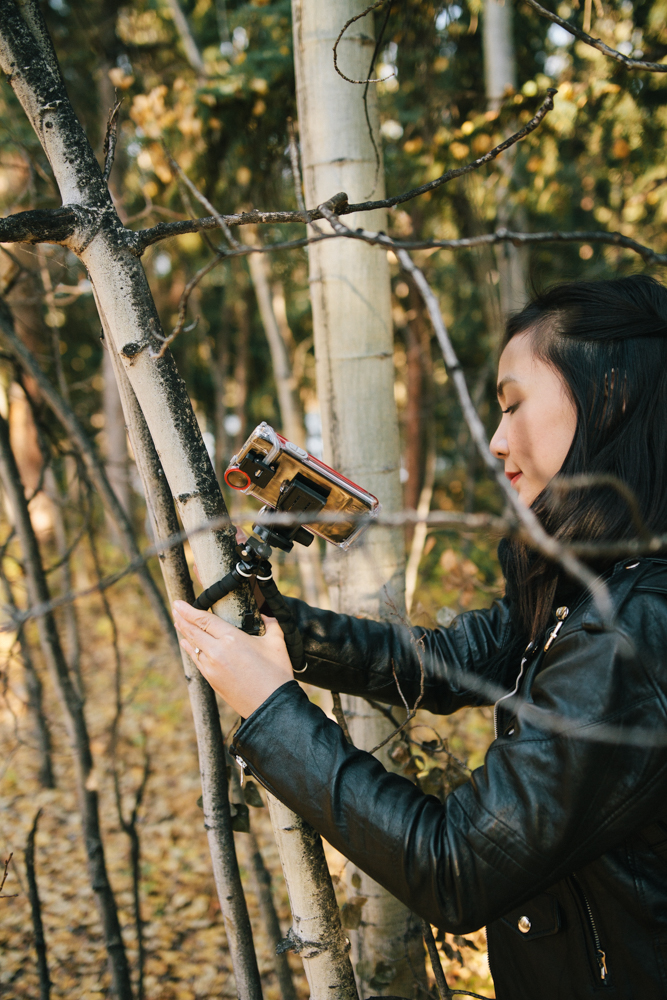
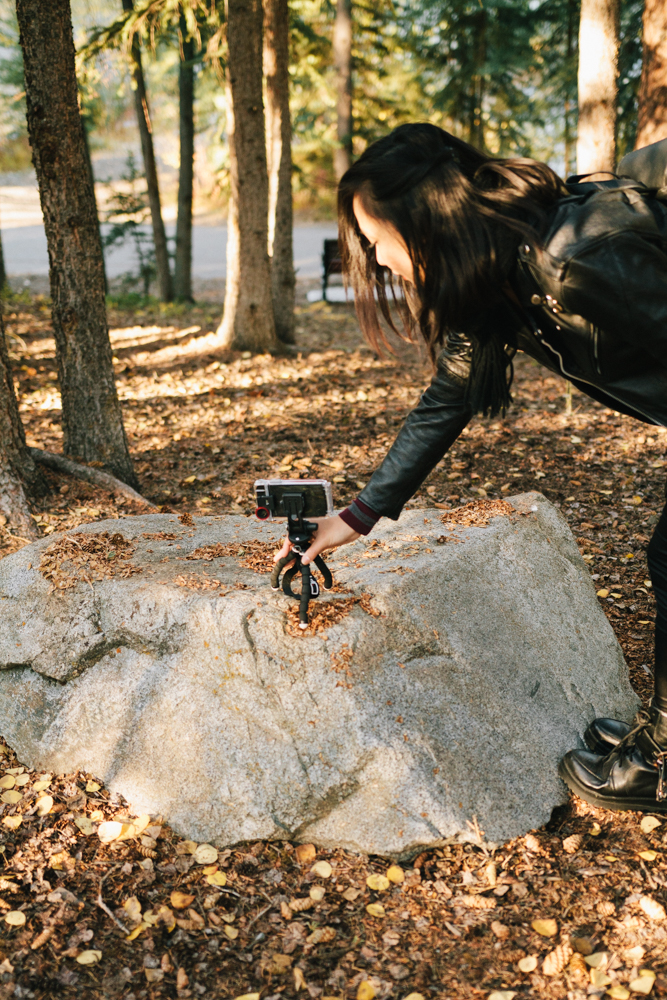
I sometimes don't like the look of the close-to-the-floor shots so this is where the wonders of the tripod come in. The legs of the tripod are bendable and they have the capacity to hold on to things. I find branches of trees very helpful. Look for higher ground, put your tripod on your resting bicycle, find a huge rock, place it on the hood of your car, sky is the limit! Shots taken from a higher point of view gives the illusion of having a photographer companion so get your creative on and fool everyone with your awesome self-timer skills!

And of course, you can also just take a normal selfie.


cs


